I'm very excited... because this post will be the first time I was able to figure out how to take pictures from my phone and upload them into a blog post! Yay me! So I wanted to give you a peek into my life as a college student. This is what we are doing at this EXACT MOMENT. We are making a tailored jacket... Woo! I'm going to show you some of the things we do to create our projects.
So, first things first, the first picture is the tool that I use to create my garments: my sewing machine. His name is Sam the sewing machine. He can sometimes be moody and annoying (like most boys; sorry male readers but it's true), but he's loyal and has stuck by me through many projects.

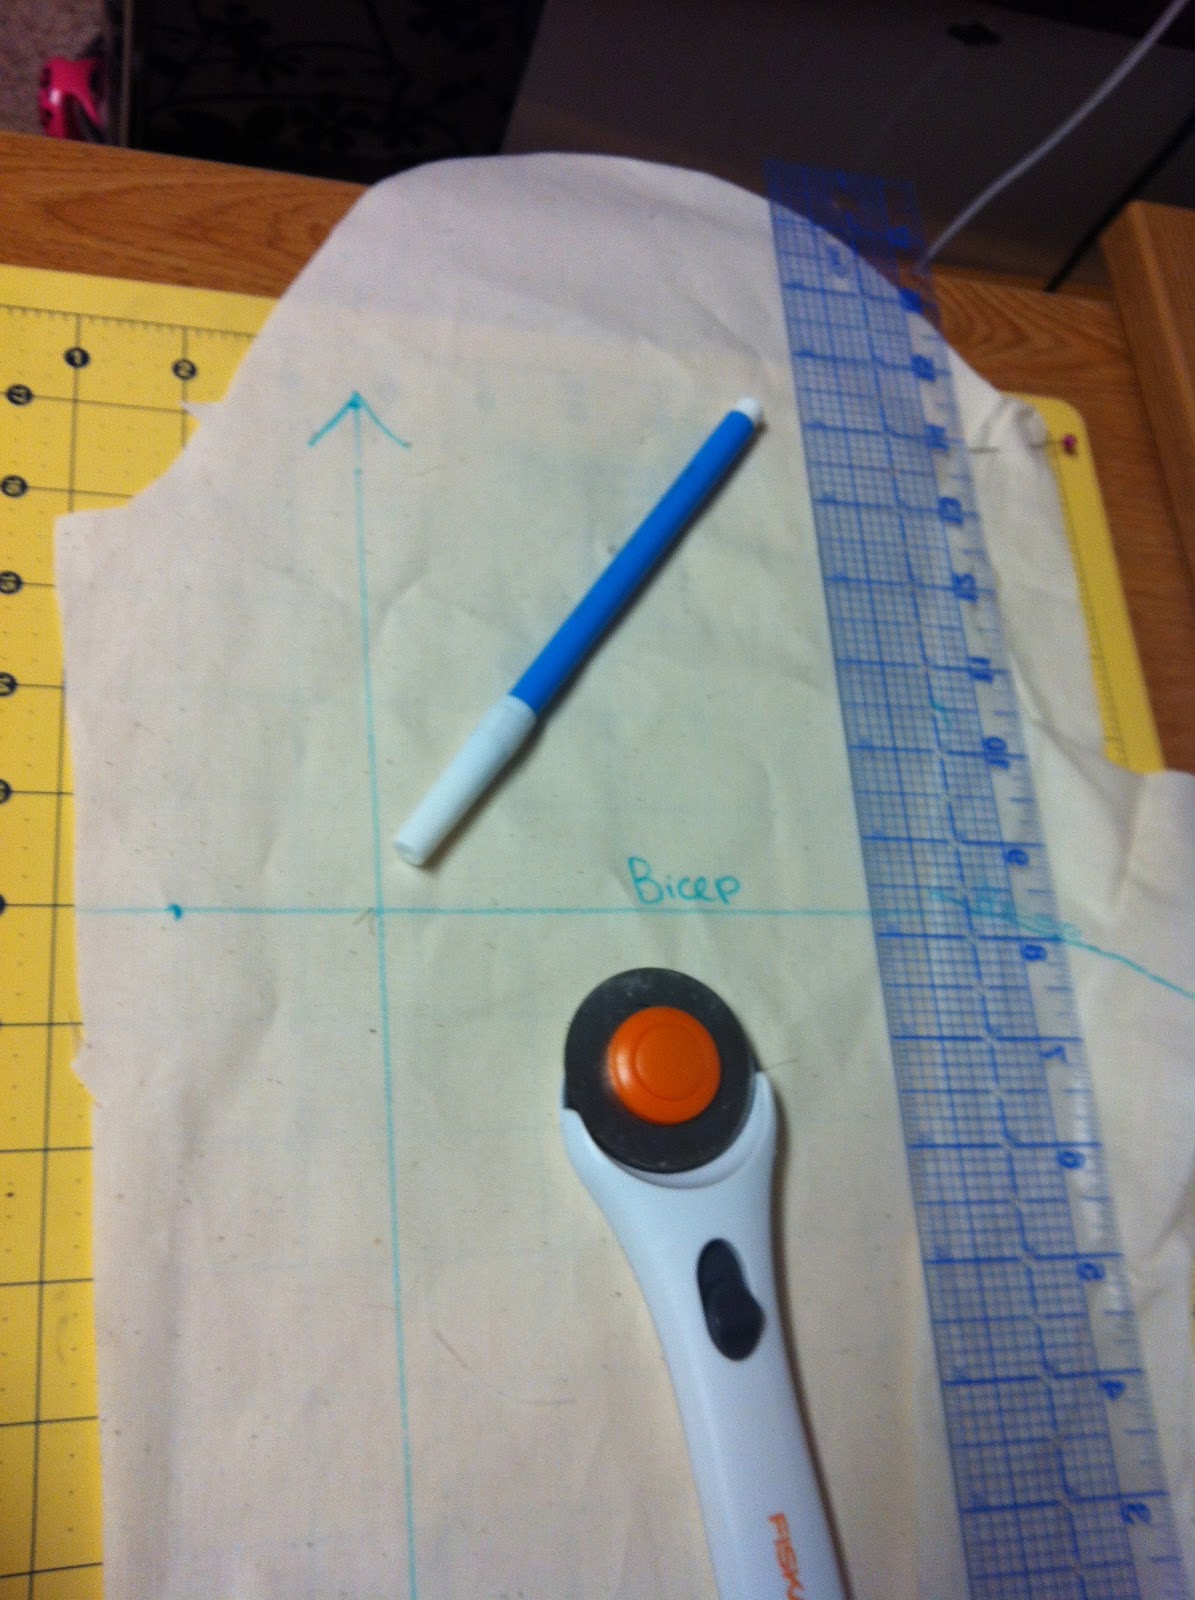
These pictures are of me making my jacket muslin- or a practice jacket. "Muslin" in the kind of lightweight fabric we use to practice on. First, we get the pattern piece to whatever project we are doing. It tells us the shape of the fabric, which piece it is, how many to cut, and if it needs interfacing or not. We mark the seam allowances on the pieces around the outside, and we extend the grainlines with an arrow.

That was a different pattern piece than what I cut out of muslin in the next picture, but let's pretend it was my sleeve pattern. So now that I have my pattern piece all drawn on , I laid it down on the fabric, and I pin it down. Then I cut it with my rotary cutter (shown below) and then I transfer the necessary information onto it.
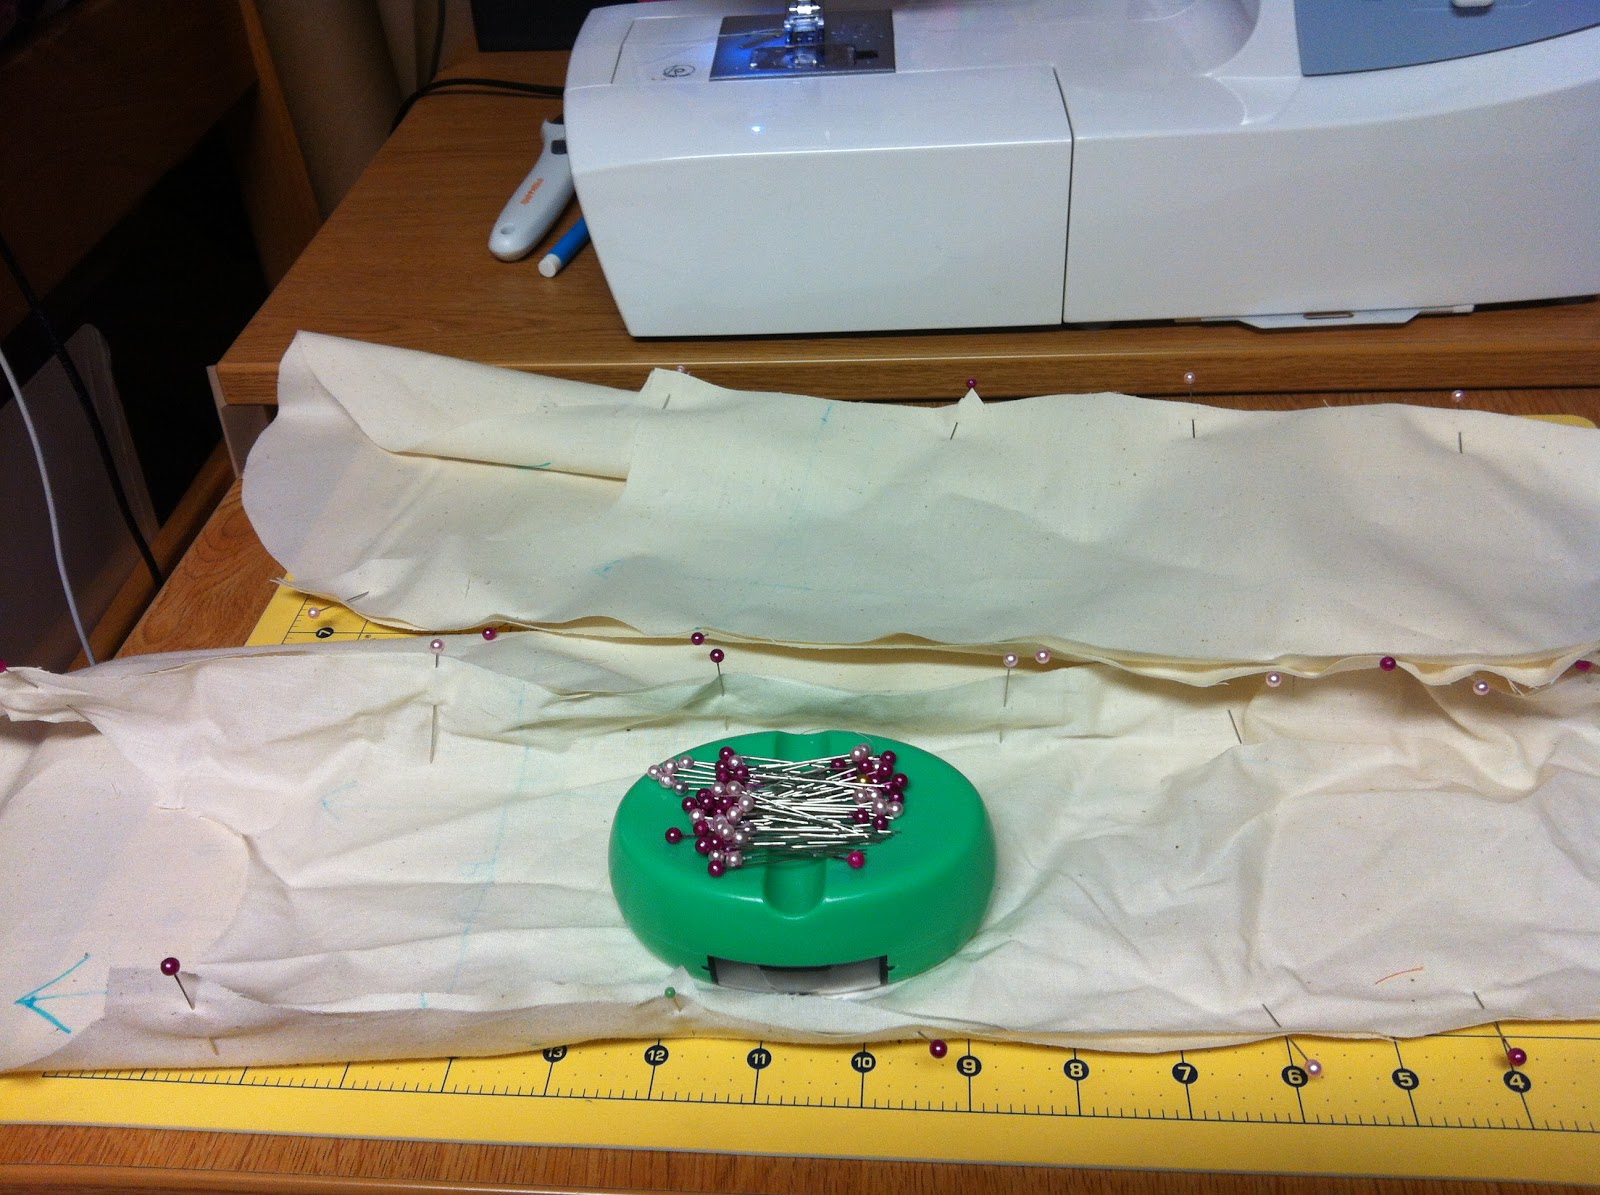
Now that I have all of my necessary components drawn on there, I can finish cutting out my sleeves. These kind of sleeves have two parts, an upper and a lower sleeve. So now I have to stitch the two together to put my sleeves in. First I must pin them together, shown below. Always pin before you sew to ensure your pieces stay together!
And now I am going to stitch them together. Weee fun times! Some things we were taught in class: Never backstitch, always stitch in place. It adds less bulk. Then start sewing. But stop when you come to a pin, to take it out before continuing. I have learned the hard way that if you stitch over a pin you'll probably break either your needle or your pin- neither of which you should break ever lol.

This is how the jacket body looks so far. I have all of my things marked, including grainlines.

I stitched the two sleeves together, and then I attached the sleeves in at the armholes, following my pattern pieces where they tell me to gather to ease in fullness.

And now I have a completed jacket muslin! I have a fitting coming up soon, hopefully it is up to standards! It looks pretty good to me though :) So now that this is done, after we have the fittings, we will cut into our real fashion fabric. I will keep y'all updated! It's gonna be heavy black wool with black lining and maybe a purple button to match with my purple and black plaid pants. We'll see how it goes!
Until next time,
Vivre la mode, tout le monde!
No comments:
Post a Comment