Tuesday, March 5, 2013

What we're doing now!- Tailoring #6

Hey fashion readers!!!!

I'm very excited... because this post will be the first time I was able to figure out how to take pictures from my phone and upload them into a blog post! Yay me! So I wanted to give you a peek into my life as a college student. This is what we are doing at this EXACT MOMENT. We are making a tailored jacket... Woo! I'm going to show you some of the things we do to create our projects.

So, first things first, the first picture is the tool that I use to create my garments: my sewing machine. His name is Sam the sewing machine. He can sometimes be moody and annoying (like most boys; sorry male readers but it's true), but he's loyal and has stuck by me through many projects.


These pictures are of me making my jacket muslin- or a practice jacket. "Muslin" in the kind of lightweight fabric we use to practice on. First, we get the pattern piece to whatever project we are doing. It tells us the shape of the fabric, which piece it is, how many to cut, and if it needs interfacing or not. We mark the seam allowances on the pieces around the outside, and we extend the grainlines with an arrow.


That was a different pattern piece than what I cut out of muslin in the next picture, but let's pretend it was my sleeve pattern. So now that I have my pattern piece all drawn on , I laid it down on the fabric, and I pin it down. Then I cut it with my rotary cutter (shown below) and then I transfer the necessary information onto it. 
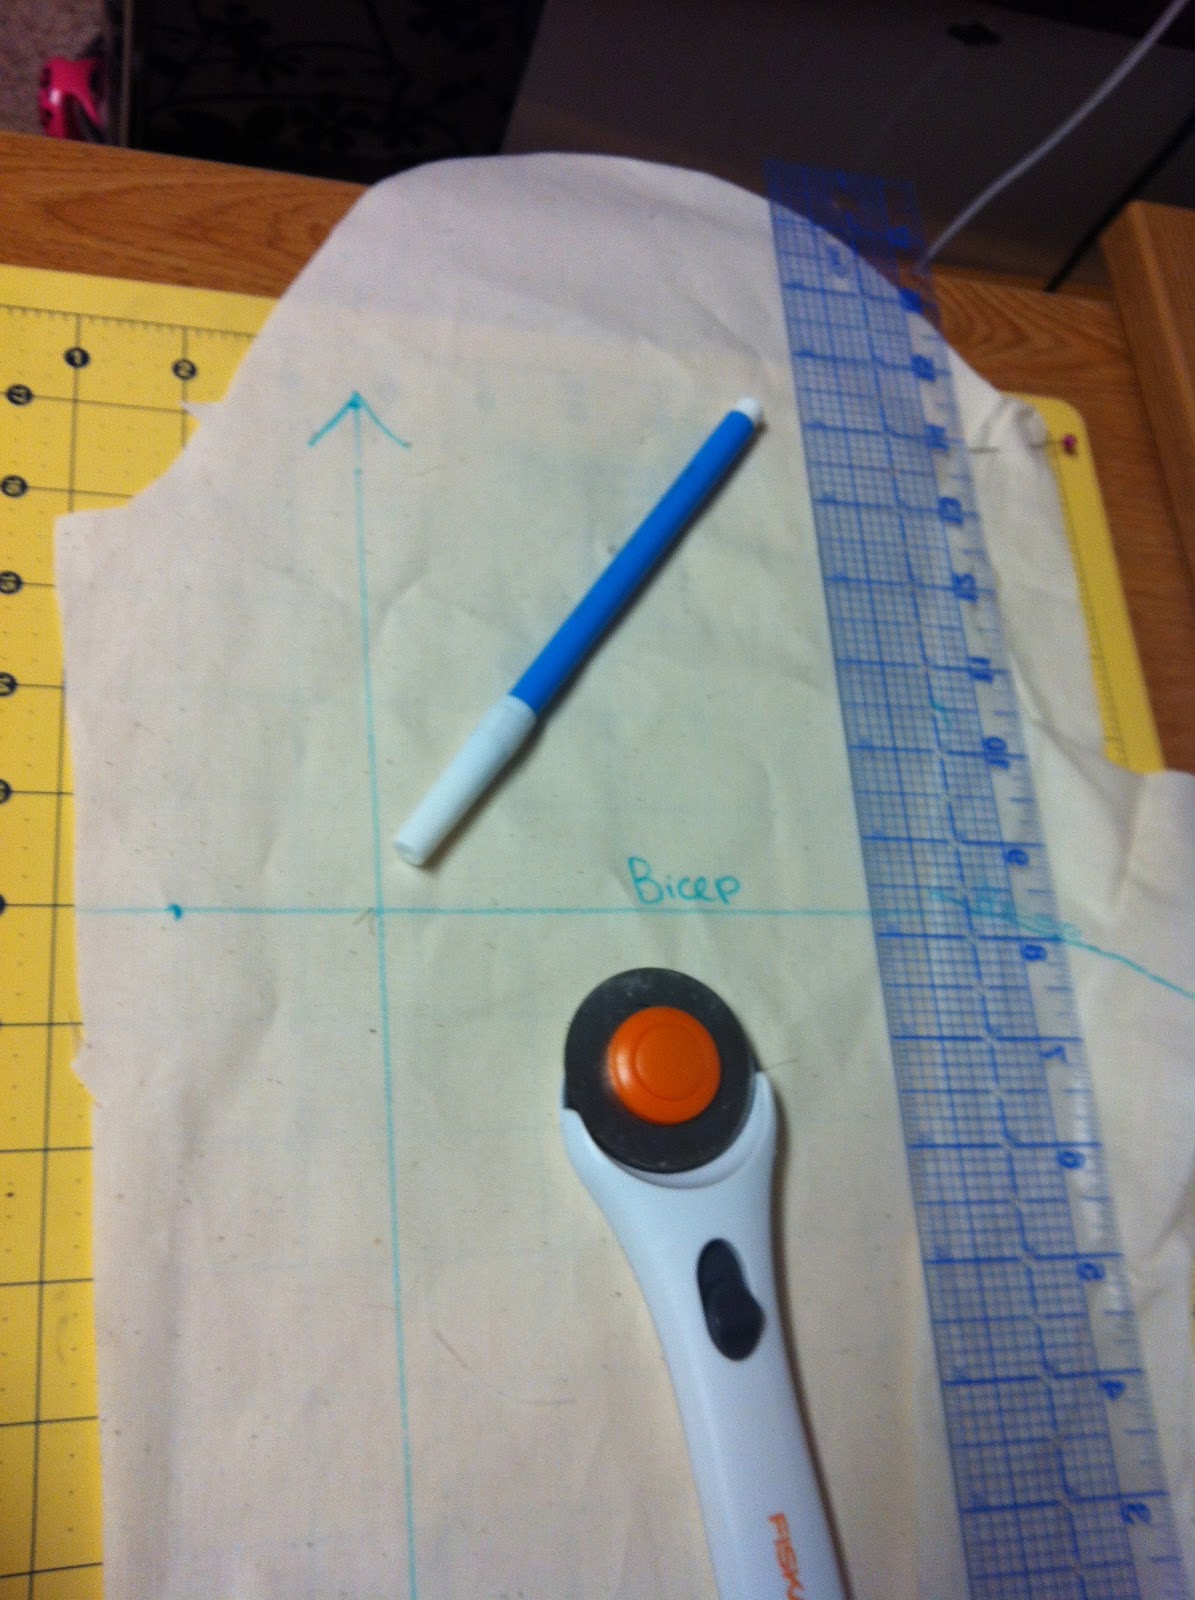


Now that I have all of my necessary components drawn on there, I can finish cutting out my sleeves. These kind of sleeves have two parts, an upper and a lower sleeve. So now I have to stitch the two together to put my sleeves in. First I must pin them together, shown below. Always pin before you sew to ensure your pieces stay together!
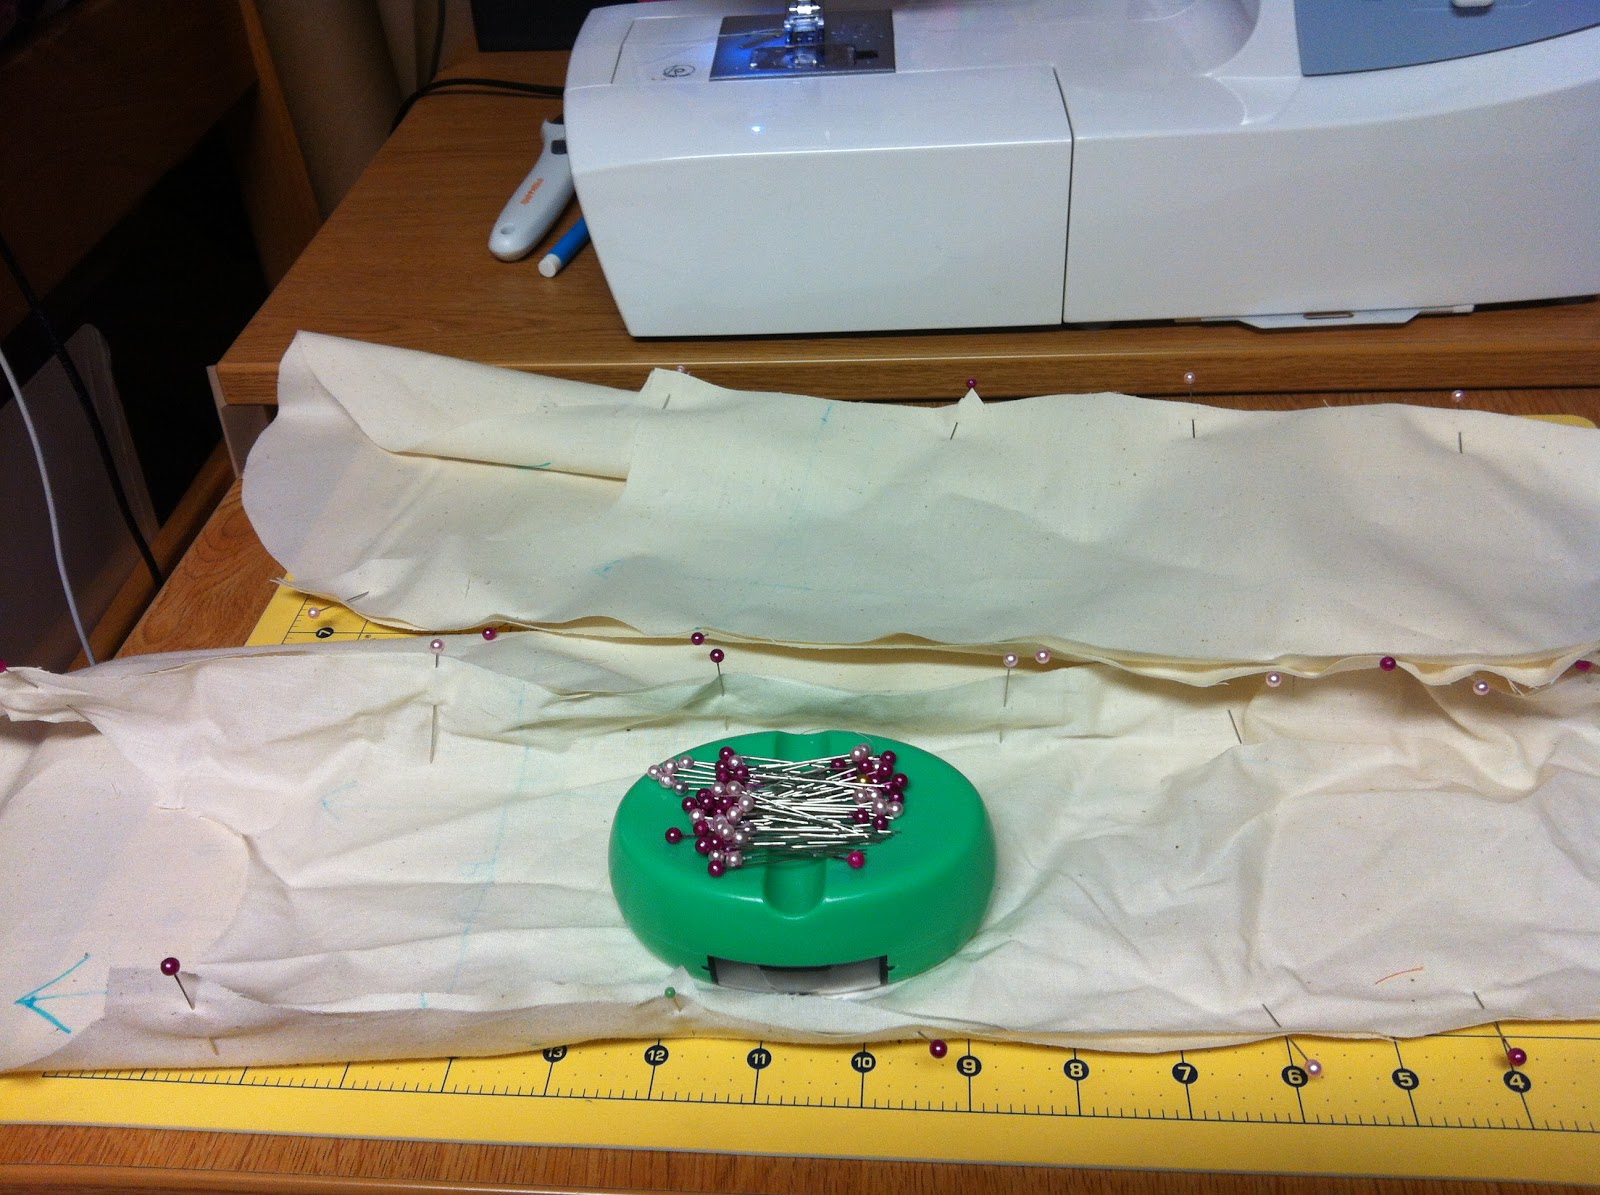


And now I am going to stitch them together. Weee fun times! Some things we were taught in class: Never backstitch, always stitch in place. It adds less bulk. Then start sewing. But stop when you come to a pin, to take it out before continuing. I have learned the hard way that if you stitch over a pin you'll probably break either your needle or your pin- neither of which you should break ever lol.


This is how the jacket body looks so far. I have all of my things marked, including grainlines. 


I stitched the two sleeves together, and then I attached the sleeves in at the armholes, following my pattern pieces where they tell me to gather to ease in fullness.


And now I have a completed jacket muslin! I have a fitting coming up soon, hopefully it is up to standards! It looks pretty good to me though :) So now that this is done, after we have the fittings, we will cut into our real fashion fabric. I will keep y'all updated! It's gonna be heavy black wool with black lining and maybe a purple button to match with my purple and black plaid pants. We'll see how it goes!

Until next time,
Vivre la mode, tout le monde!

Saturday, March 2, 2013

Pants pants pants- illustration #5

Hi everyone!
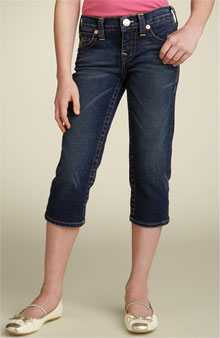
Guess what we are talking about today? Surprise, we're talking about dogs. I like Yorkies and Collies and.... Kidding! We're talking about pants, as you might have guessed by my title. So because we are making pants in my tailoring class AND we have started drawing garments in my illustration class, I figured I would do a whole post devoted to them! And guess what, for women there are so many kinds, it gets confusing! Hopefully this will help. I will name some of the more popular styles, and I'll try to just stick to casual/ work wear, I won't get into athletic wear or anything. So, starting off with a bang... Pants are burficated! WHOA big word. Bifurcation means the splitting of a main body into two parts. Makes sense, most of us have two legs. When drawing pants, be sure to show the wrinkles! It makes things look much more realistic. So, I am now going to name some different kinds of pants, and hopefully this will help y'all when you are looking for your first pair of clamdiggers or maybe culottes come back in style in the future :)

*flood length means the area of leg higher than the ankle but longer than capris

Without further ado, a quick guide to women's pants!


Capris

Knickers- capri length, tied/ elastic at bottom


Clamdiggers- a little longer than Capris
Gauchos- Wide leg, *flood length* capris

Palazzo pants- floor length, wide legged pants


Culottes- wide legged, normal length capris

Cigarette pants- ankle length and slim fit
Harem- elastic at waist and ankle, very full at hips; like parachute pants

Jodhpur- full at hips, legs, and dropped crotch

 
Zouave- full in thigh and extreme dropped crotch


Dhoti- elastic waist, ankle, fullness throughout entire leg, and dropped crotch
Paper bag top trousers- normal trousers with gathered top
Trousers

Sailor pants- trousers with added front piece with decorative buttons


Whew! That was a lot! But hey, this should be really helpful to y'all "pants challenged" out there lol. I know I was before I came to this class! Hope you enjoyed :)

As always, vivre la mode tout le monde!

Friday, March 1, 2013

What's a covered snap? -Tailoring #5

Hey there y'all!

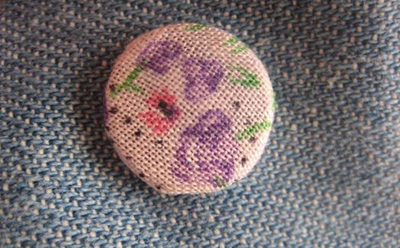
Since I am in a tailoring class, we talk not only about how to make high quality garments, but also little tips and tricks to take your garment from craft project to custom tailored. Little tricks to take it to the next level. This is something that we talked about: covered snaps. You know like on the inside of a purse, you have those snaps to close it? Well, in a nice blouse or a jacket with those kind of closures, sometimes you can cover them with matching lightweight fabric. Just for "funzies", there isn't really a structural purpose for them- they just look cool :) They give more continuity to a garment, by keeping everything the same color. Sometimes the bright silver or gold of a typical store-bought closure throws off the visual sleekness of a garment. So this is a good way to keep everything flowing. This technique also makes the closure look almost invisible... because again, sometimes one doesn't want a big tacky silver blotch on a nice garment. So, next time you are shopping for a jacket, check and see if the snaps are covered! If not, shame on them! Just kidding lol.

Something funny we talked about in class pertaining to snaps was: snaps actually have male and female end. Bet you didn't know that! I hadn't either lol, but I suppose if I had sat and thought about it, it makes anatomical sense. Just look at my pictures below of the blue fabric ones and the white fabric ones. The concave one is obviously the female one, and the convex side is male, as you can see. Lol! There was lots of laughter in my class during this discussion lol.

Anyway... back to my original topic lol. How do you do a covered snap? Well, I'll give you the quick answer. Cut a circle in your lining fabric a little bit bigger than your snap, you don't want to see your stitches on the back side. Run a basting stitch around the circle, close to the outer edge. Only knot one end. After doing the quick basting, put the male end in the middle and pull it taught, making kind of a little "bag". Now, on the front side of the male end, move the threads around the "nub", so that the "nub" easily fits into the other side of the snap. I call it a "nub" because I like the word "nub" better than what we had in our instructions, which was "protuberance". That word is of cool too though. But for any who know me, they know I enjoy the word "nub" :) Now, stitch the back end down some so that the edges of your circle of lining can lie flat, and stitch the snap onto your garment! Do the same thing with the female end too. And you're done! See, they're simple :)

As you can see, they have done the quick basting stitch around the male end, only knotted one end, and moved the threads around the "nub"

Covered snap example female end (not used)

Covered snap example female end (used- you can see the threads are pushed in, signifying that it has been snapped a few times)

Beautiful covered snaps! You can barely see them
Here's a nice finished set
             

These are kind of small (sorry) but the female ends are on her left side- as she wears the jacket- and the male ends are behind the big buttons on her right side. Looks nice, no? 
I hope this has inspired you to put covered snaps on EVERYTHING :) Or maybe just to recognize quality when you go shopping :) I know I might have to put some in a couple of purses I own. And just because I like doing different things, I might just cover them with a contrasting color... just for fun!

Until next time- vivre la mode, tout le monde!

Saturday, February 23, 2013

Toggles and Frogs -Fashion illustration #4

Hey guys!

So in class a little while back we were talking about closures to garments. And two names popped up in our discussion that I hadn't even heard of! (never a good thing). So I figured, I must not be the only one out there that hadn't heard of these either, so I wanted to do a post that will inform both you and I of what these are :) here we go!

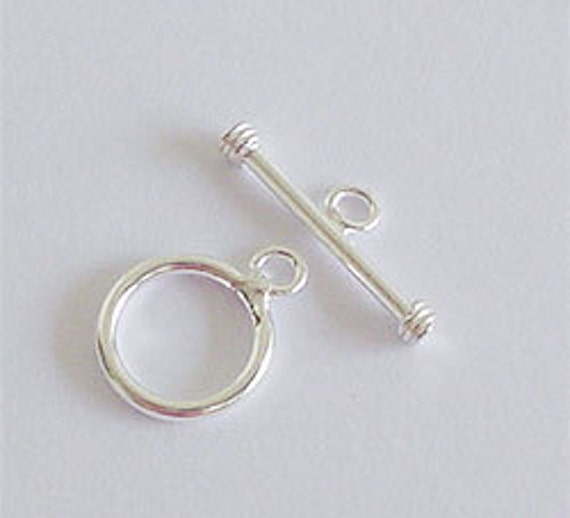
Toggles! These cool little doo-dads are usually used for coats and parkas, even lightweight jackets. They give an outfit a rugged, outdoorsy feel without having to cover yourself in camo.

They have a loop and the main toggle, and the toggle slips in inside the loop. There is usually a metal zipper under that flap for extra protection against the elements.

They work on both men's and women's garments.

Toggles are also on lots of pieces of jewelry, but they look a little different.

Michael Kors designed the black/ gray vest!

they can even be on boots!

on jewelry

___________________________________________________________________

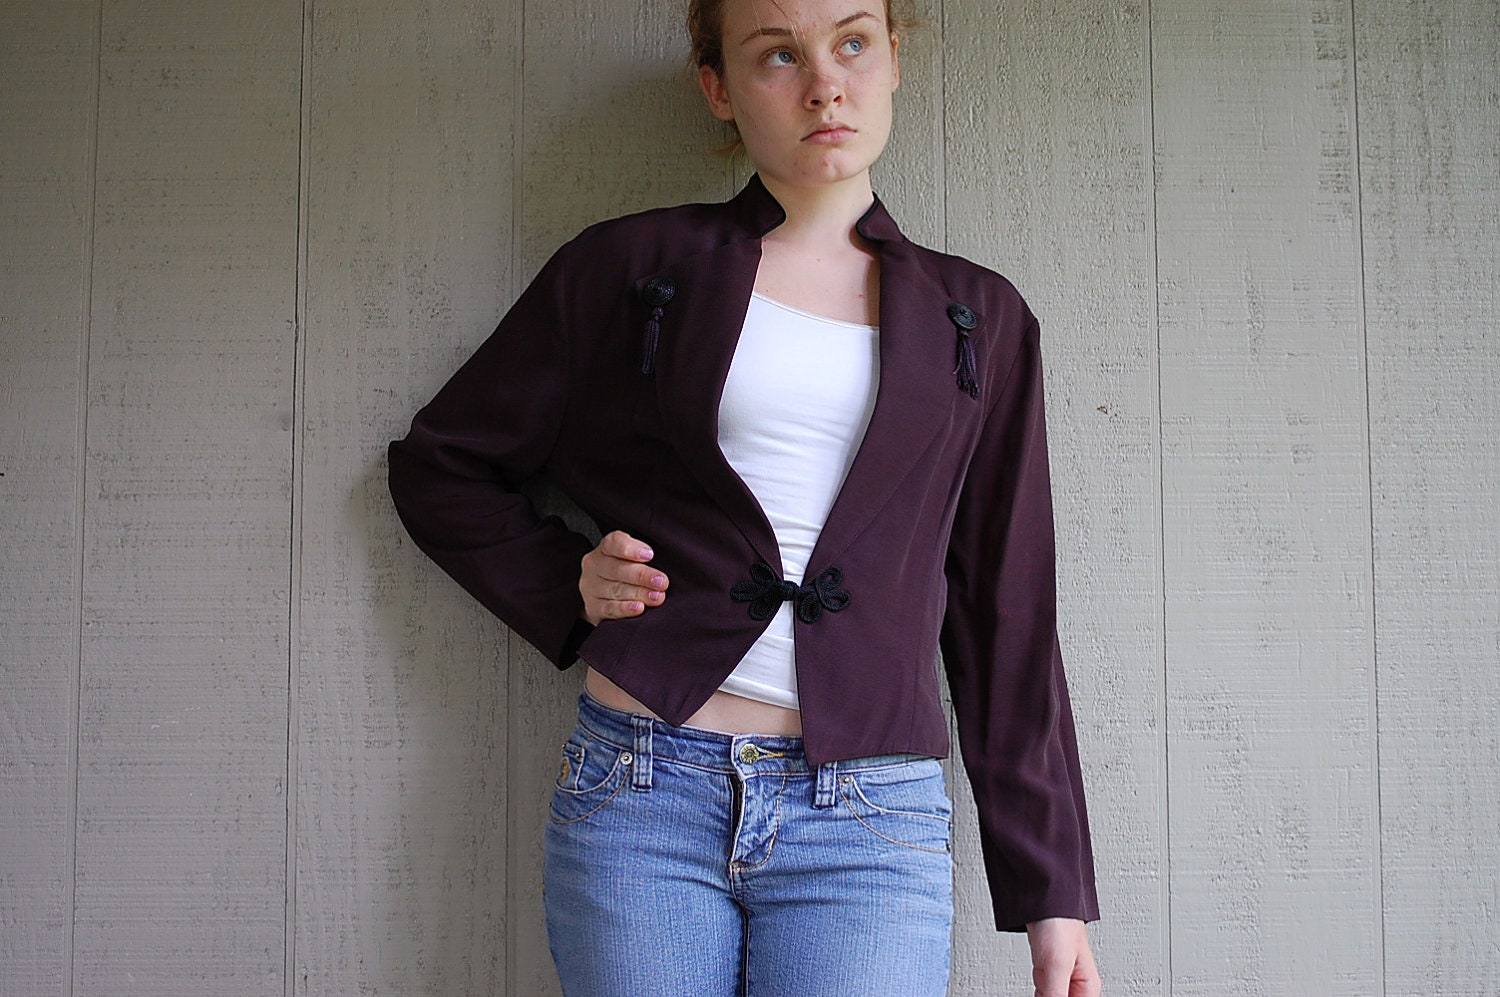
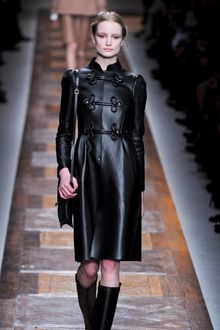
Frogs! These equally as cool but rarely thought of closures are called frogs. Not sure why, they don't even look like frogs lol. Super pretty, they can go on shirts, outerwear, whatever.

They give a look femininity and also an old fashioned kind of feel.

I doubt any man would want this on a jacket lol, so it's safe to say these are used on women's clothes only.

Made from rope or heavy yarn, one side is a knot, the other a loop, and the knot goes inside the loop.


Valentino
See? They are pretty cool! I think they are both pretty fashionable and if mixed with the right trends, they could be very fashion forward. Even some big name designers are beginning to bring them back into popularity. So the next time you need a closure for a bag or shirt, remember the toggle and frog!

Vivre la mode, tout le monde!

Wednesday, February 20, 2013

Matching prints is necessary!!- Tailoring #4

Hello people!


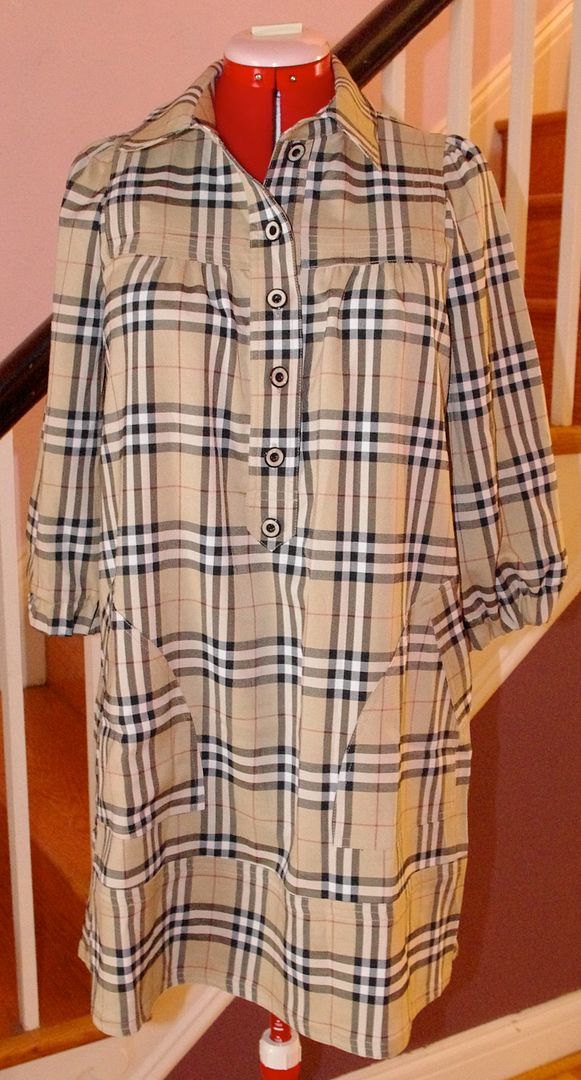
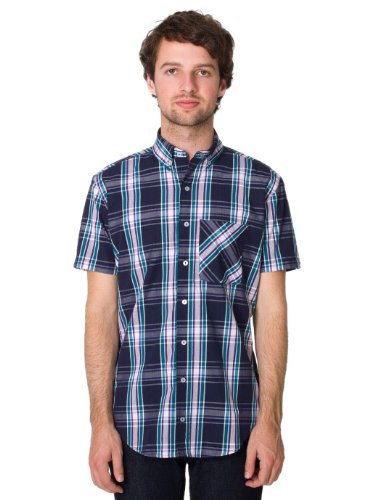
I am going to discuss something with you that is VERY VERY important. Not only will it prevent you from looking like a nub, but it will open your eyes to seeing quality in your garments. One key thing to remember when buying a plaid or a stripe, *if it doesn't match on the side seams or the arm sleeves, don't buy it!* So, look at these pictures for a second and see if you can guess why I said each was bad or good.

Good
Bad

Bad
Oh my gosh bad
Good
So bad. I'm cringing.
So can you tell what is wrong with the bad ones? The prints don't match!!! Whether you have a stripe or a plaid or even a dog pattern, they have to match on the side seams and the arms, or else it will look very bad. My favorite example? The last one, the plaid dress... thing. The plaid doesn't match at the bust, at the bottom, and I'm pretty sure there is a random princess seam going along from the waist to the hem- because there is another chunk of plaid there that doesn't match. Oh gosh this dress has problems. 

What you are supposed to do is when the striped garment is being worn, the stripes should continue from arm, to middle, to arm. Those horizontal lines should all match up. If the stripe is vertical, then they should match up at all seams. *you can tell a cheaply made garment if the plaids or the stripes are a little off*, like the green and gray plaid swatch. If you have a plaid, the most dominant colored lines should match up both vertically and horizontally. Unless you are doing something decorative, but I'll talk about that in a minute. 

If you wear plaids or stripes that don't match, you run the risk of looking like a nub- as in a goofy person who can't tell quality in garments. So do yourself a favor and match your prints! (or you might see a picture of yourself on here, and me making fun of it :P)

Here's a way to not match your plaids but in key areas:

Turned pocket
Plackets, pockets and cuffs that are turned are acceptable. And they aren't crooked or off center, they are turned with a purpose. So just be aware next time you go out to buy a plaid or a stripe!

Hope this informed you guys on the proper way to wear a stripe or a plaid! Vivre la mode, tout le monde!


Saturday, February 16, 2013

Adding personality!- Fashion Illustration #3

Howdy everybody!

So we were talking in class about adding personality to your drawings. You don't want them all facing forward with their arms out, do you? No, silly. Sometimes you want your illustrations to be sassy, or romantic, or fierce. It just depends on the mood of your garment, and how you want your customer to feel in it.
This figure is static and boring
Versus these figures which have movement and attitude
As you can see, movement can do a lot for your garments! The clothes on the left may be cute in person, but because the girl in the drawing looks bored and uninterested, I'm going to assume that those clothes will make me feel also bored and uninteresting. But the clothes on the right look dynamic. I can assume that I will feel edgy and confident in those clothes. So lesson learned- Movement makes your clothes look more interesting!

3 quarter-turned head
Front facing head


Same concept, the 3 quarter-turned head is more interesting to look at than the frontal face (although both of these are beautiful).

How to draw what I am talking about: When sketching, like in one of my previous blog posts, you start with your center front or balance line. When turning the body, move the center front line. The key to getting movement is to angle the lines of your hips, bust, waist and shoulders. The girl in the gray dress, her shoulders and bust are tilting down on the right side, while her waist and hips are tilting up on the right side, giving the body movement. When this happens, one side typically "crunches" in, ie her right side (as i am looking at the image). The girl on the right is a little hard to see, but it looks like her shoulders, bust, waist and hips are all angled down to the left slightly- because she's almost completely turned sideways. Her center front line follows the curve of her torso, and starts at the base of her neck; so it will be curved like a big C from her neck to her pelvis, and that ensures that her body stays balanced.


Leg positioning can also give you personality. By crossing them, keeping one bent, sticking one out, or anything within the realm of human flexibility, you can add a completely different dynamic to your look. I think this picture below is really awesome, and it is a good representation of leg positioning.
Well, I think that is about it for me this week! I hope you enjoyed! As always, vivre la mode tout le monde!
Friday, February 15, 2013

Waistbands!- Tailoring #3

Bonjour world!
Today I am going to talk about that little strip of fabric on the top of your pants called waistbands... yay! Waistbands are very exciting because that is where you can add some more personality into the garment itself, and it is essential for the fit of the pants, shorts, skirt, whatever the garment is. If your waistband is too big, your pants will probably be too big as well. If the pants are smaller around the waist, then your waistband will pucker trying to fit onto the smaller size. I had the opposite problem when making dress pants in my tailoring class, my pants were a little big around the waist and so when I put on my tailored waistband, it puckered a little because the waistband was smaller. But I fixed it for the most part :)
As you can see, her waistband is too big for her

Now, there are two kinds of waistbands: curved and straight (theres also elastic and custom and some other ones but we'll get to those later). A curved one looks like this laid flat:


Whereas a straight one looks like this laid flat, just a simple rectangle:


A curved one will give you some more fit because it will be able to hug the natural curve of your body better than the straight one. But the straight one isn't bad by any means. It is a classic shape and it gives a classic and polished look to any garment- especially to men's suit pants.

Now I will talk about what I meant when I said there are more than two kinds of waistbands. In tailored  or nicer garments, you don't use elastic or casings. You use the separate ones like the curved or the straight waistbands. But if you have a simple little skirt or something, elastic and casings are perfectly fine. They look like this:

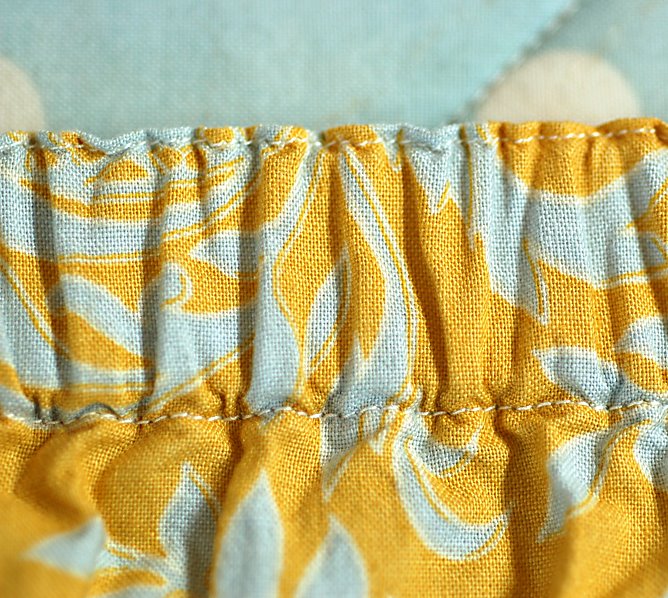
In the picture, "regular" is what I would describe the straight waistband. Contour is kind of like the curved, but it is a little bigger in the front. Don't worry, I have real examples of all of these :) Casing is something you do in, say, sweatpants. The top of the pants are folded down to make a kind of tunnel, and you slide the elastic band through there and stitch it all closed. Elastic is where you take the top of the garment again, fold it down over the elastic so you can't see it, and do a stretch-stitch directly on the elastic. This could also be used for sweatpants or maybe a quick little skirt.


Contour
Elastic


Casing. You can see the elastic on the inside.


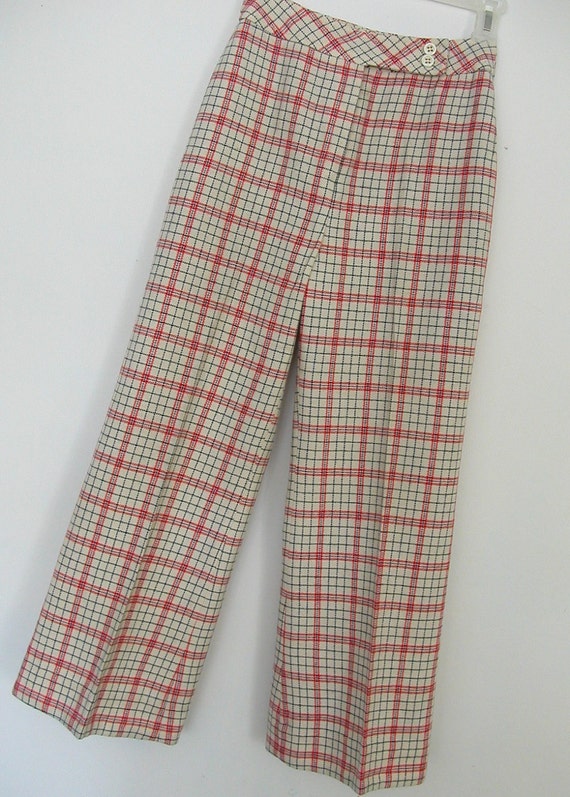
Adding personality to garments by waistbands. This is fun to do if you have a striped or plaid pants, you can turn the direction of the print and make it on the bias or at an angle... So say your plaid is going straight across. To make it more fun, turn the plaid at a diagonal. That's what I did with my pants :) you can also add some fun linings on the inside, make it a contrasting print or something different entirely, or do a contrasting color stitch if you have an elastic waistband. You can also do varying widths. Make it a thicker waistband for a touch of whimsy with a printed skirt. Make it a thin waistband maybe for dramatic effect. You could even add some piping around it or something for a little fun touch. There are lots of options!
Print

Colored lining


Turned waistband
Matching waistband


Skinny waistband 

Well, that's all for now! Vivre la mode, tout le monde!